World 002 · the shelf, taken further
Make it physical
Download a model, bring it into your slicer as millimetres, and make a test print. These are digital prototypes: the dimensions describe the model files, not a verified fit or a finished product.
Before anything
The STL format carries no units. Import at 1:1 in millimetres and compare the dimensions below before slicing.
The suggested orientations are starting points; inspect support and adhesion in your own slicer.
This guide covers the three sculpted objects. The garment artwork has its own production notes.
Choose a form
01 · Model files-
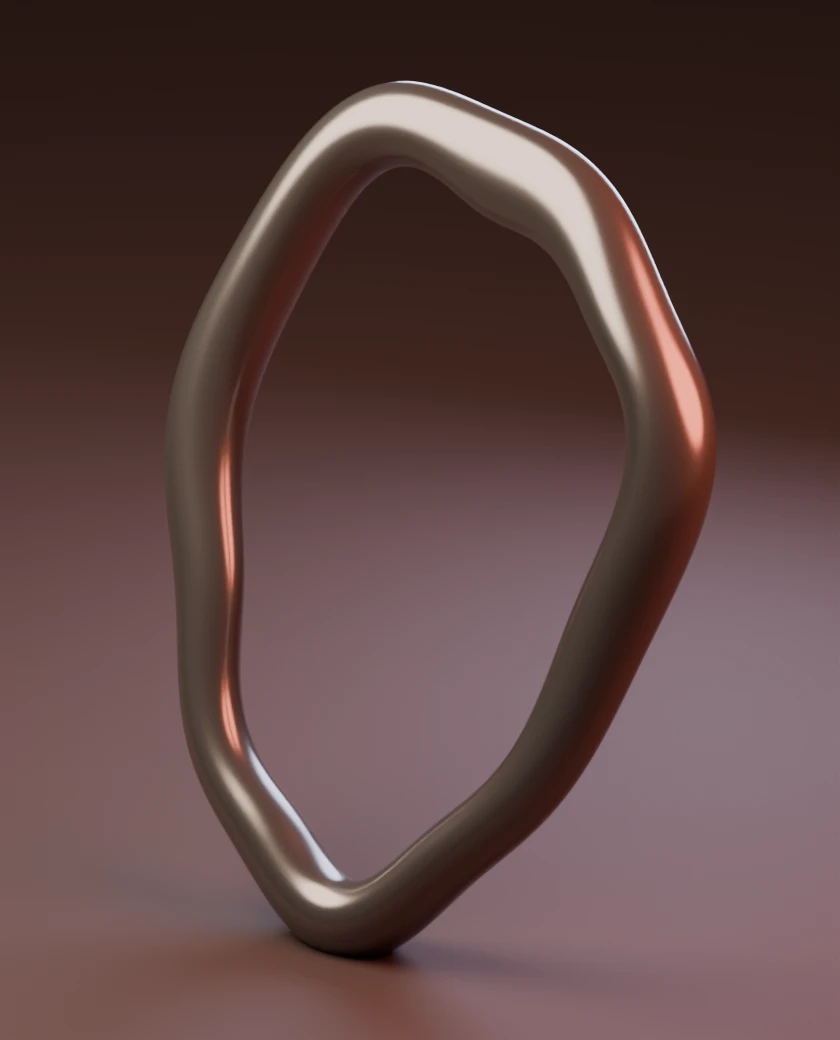
VOID
Pendant · model bounds 57.48 × 71.67 × 8.54 mm
Orient the broad face toward the build plate. Its gently waved surface may need supports. Add your own cord or finding through the centre opening.
-
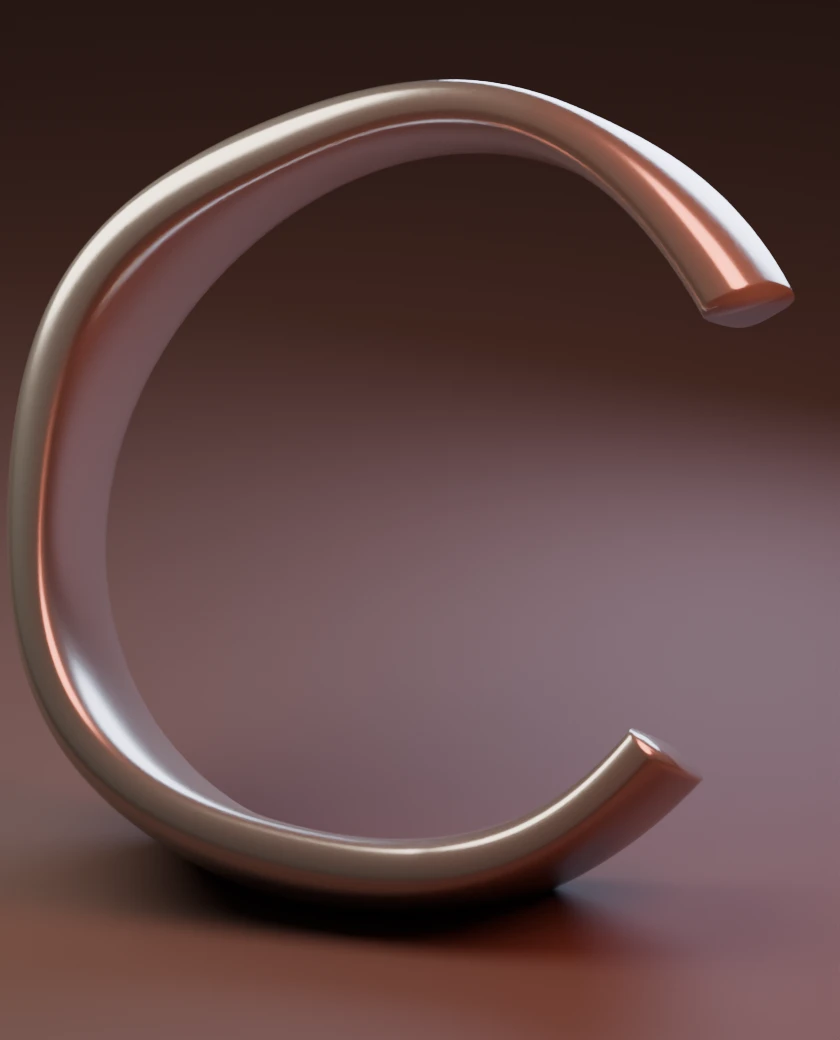
FOLD
Cuff · model bounds 68.43 × 76.68 × 25.78 mm
Start with one flat end on the plate and supports beneath the arch. Print a sizing test first; do not force a brittle print onto a wrist.
-
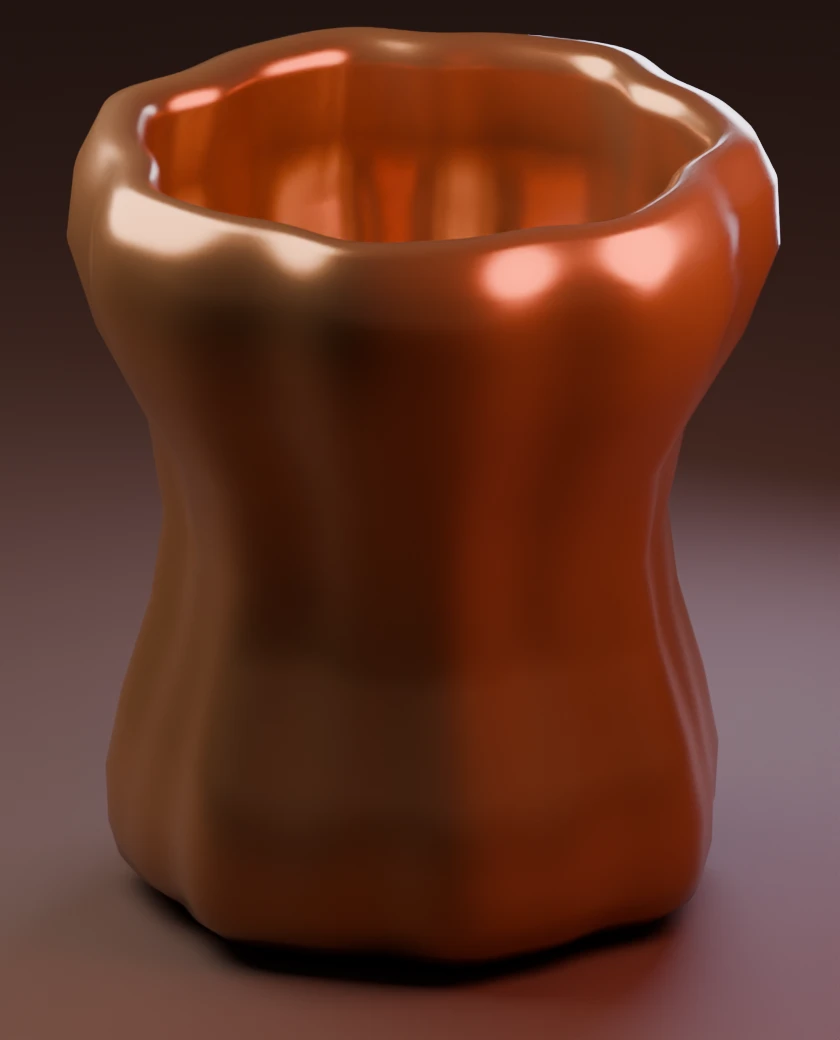
RELIC
Vessel · model bounds 63.36 × 63.78 × 70.90 mm
Print upright with the base on the plate. Inspect the lip and inner overhang. Decorative use only; food safety, liquid tightness and heat resistance are unverified.
Before you print
02 · Preparation- 01 · Import
Confirm scale
Open the STL in your slicer. Set millimetres and compare all three model bounds above.
- 02 · Orient
Inspect contact
Try the suggested orientation, then review bed contact, overhangs and support placement.
- 03 · Slice
Use your profile
Choose material, layer height, infill, supports and temperatures for your own machine. Check the layer preview.
- 04 · Test
Print and revise
Make a small test, then check fit, strength, surface and safety before regular use.
No machine-specific G-code is supplied. A physical print has not yet been verified.